
Blog
5 Super-Quick DIY Fixes That Stop Small Home Problems from Becoming Disasters
Small household problems can quickly escalate into major disasters if left unaddressed. A leaky faucet, for instance, can lead to significant water damage and costly repairs if not fixed promptly.
Addressing these issues promptly is crucial to maintaining a safe and secure living environment. This article will guide you through 5 super-quick DIY fixes to prevent minor issues from becoming major headaches.
By implementing these simple and effective solutions, homeowners can save time and money while ensuring their homes remain in top condition.
Key Takeaways
- Quick fixes can prevent minor household problems from escalating.
- Simple DIY solutions can save time and money.
- Addressing issues promptly maintains a safe living environment.
- Five super-quick DIY fixes will be covered to help homeowners.
- Effective household maintenance is crucial for a secure home.
The Hidden Costs of Ignoring Small Home Problems
The true cost of neglecting minor home issues extends far beyond the initial repair costs. When homeowners fail to address small problems, they often face significant financial burdens down the line.
Financial Impact of Delayed Repairs
Delaying repairs can lead to a substantial increase in costs. For instance, a small leak that is not fixed promptly can cause water damage, mold growth, and structural issues, all of which are expensive to repair. According to recent data, ignoring such issues can result in costs that are three to five times higher than addressing them initially.
How Minor Issues Escalate into Major Repairs
Minor household problems, such as a leaky faucet or cracked drywall, can quickly escalate into major repairs if neglected. The lack of maintenance allows these issues to worsen, eventually requiring more extensive and costly repairs. Regular home maintenance is crucial to prevent such escalation.
The Domino Effect in Home Maintenance
The domino effect in home maintenance refers to how one neglected issue can lead to another. For example, a clogged drain can cause water to back up, leading to damage in other areas of the home. This chain reaction can result in multiple costly repairs. By addressing household problems promptly, homeowners can avoid this domino effect and maintain their homes more effectively.
By understanding the hidden costs associated with ignoring small home repairs, homeowners can take proactive steps to maintain their homes, reducing the risk of major repairs and financial strain.
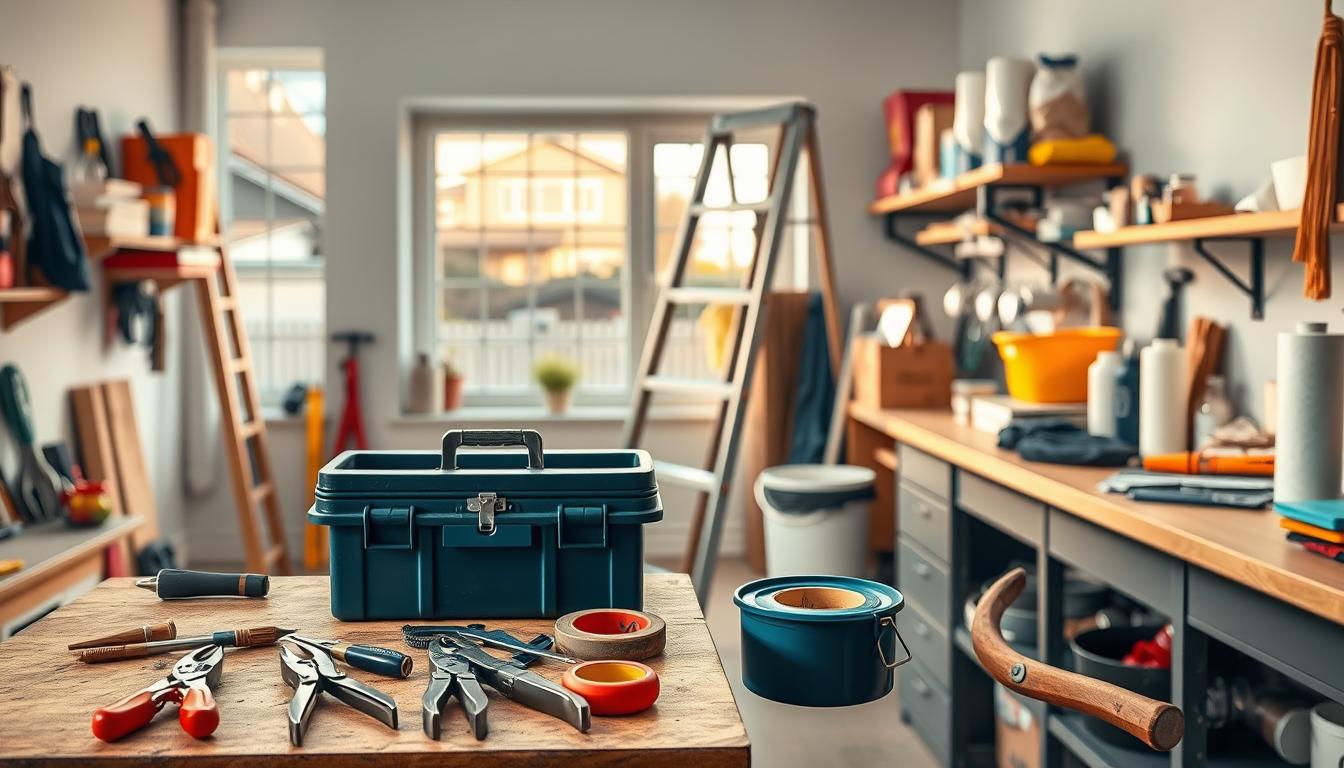
Essential Tools for Quick DIY Home Repair
A well-stocked toolbox is the backbone of any successful DIY home repair project. Having the right tools at your disposal can make all the difference between a quick fix and a prolonged problem.
Basic Tool Kit Components
Every DIY enthusiast should have a basic tool kit that includes essentials such as a hammer, screwdrivers (both flathead and Phillips), pliers, and a tape measure. These tools are fundamental for a wide range of DIY hacks and home repair tasks.
Specialty Tools Worth Having
While basic tools cover a broad spectrum of repairs, specialty tools can be invaluable for specific tasks. For instance, a pipe wrench is indispensable for plumbing repairs, and a level ensures that your repairs are perfectly horizontal or vertical. Investing in these tools can enhance your ability to perform quick fixes.
“A good set of tools is invaluable for any DIY project. It not only makes the task easier but also ensures that the job is done right.”
Organization Tips for Easy Access
Having the right tools is only half the battle; organizing them for easy access is equally important. Use toolboxes or pegboards to keep your tools organized. Labeling your tools and storage can also save time when you’re in the midst of a repair.
By equipping yourself with the right tools and maintaining their organization, you’ll be well-prepared to tackle various home repair tasks efficiently, applying valuable DIY hacks for quick fixes.
Safety First: Precautions Before Attempting DIY Repairs
DIY home repairs can be cost-effective and empowering, but they require careful safety precautions to avoid potential hazards. Ensuring a safe working environment is crucial for the success of any DIY project.
Personal Protective Equipment
Wearing personal protective equipment (PPE) is essential when undertaking DIY repairs. This includes safety glasses, gloves, and a dust mask. PPE protects you from injuries caused by debris, sharp objects, and harmful particles.
When to Turn Off Utilities
Before starting any repair work, it’s vital to turn off the relevant utilities to prevent accidents. This includes switching off the electricity, water, and gas supplies as needed. Failure to do so can result in electrical shocks, flooding, or gas leaks.
Emergency Contact Information
Having emergency contact information readily available is a critical safety precaution. This includes phone numbers for emergency services, utility companies, and a nearby hospital. It’s also a good idea to post these numbers near your phone or save them in your mobile device.
| Safety Precaution | Description | Importance Level |
|---|---|---|
| Personal Protective Equipment | Wearing safety gear like gloves and safety glasses | High |
| Turning Off Utilities | Switching off electricity, water, and gas supplies | Critical |
| Emergency Contacts | Having emergency phone numbers available | High |
DIY Fix #1: Stopping Leaky Faucets Before Water Damage Occurs
A leaky faucet is a common household issue that can escalate into a major problem if not addressed promptly. The constant dripping not only wastes water but can also lead to significant water damage, mold growth, and increased utility bills.
Identifying the Type of Leak
Before you start the repair, it’s crucial to identify the type of leak you’re dealing with. Leaks can occur in different parts of the faucet, such as the handle, spout, or base. Understanding the source of the leak will help you determine the necessary steps for repair.

Materials Needed for Repair
The materials needed can vary depending on the type of faucet you have. Commonly required items include an adjustable wrench, channel-type pliers (for removing old O-rings or gaskets), and replacement parts such as O-rings, gaskets, or cartridges.
Step-by-Step Repair Process
Compression Faucet Repair
- Turn off the water supply by locating the shut-off valves under the sink and turning them clockwise.
- Disassemble the faucet handle to access the stem and O-ring.
- Remove the old O-ring and replace it with a new one, applying a small amount of plumber’s grease.
- Reassemble the faucet handle.
Cartridge Faucet Repair
- Turn off the water supply.
- Remove the handle and cartridge using the appropriate tools.
- Inspect and replace the worn-out parts within the cartridge.
- Reinstall the cartridge and handle.
Preventative Maintenance Tips
Regular maintenance can prevent leaks from occurring in the first place. This includes checking your faucets regularly for signs of wear, cleaning aerators to prevent mineral buildup, and knowing when to replace worn-out parts.
| Faucet Type | Common Issues | Repair Tips |
|---|---|---|
| Compression | Worn-out O-rings | Replace O-rings, apply plumber’s grease |
| Cartridge | Damaged cartridges | Inspect and replace cartridge parts |
By following these steps and tips, you can effectively fix leaky faucets and prevent future occurrences, saving water and avoiding potential damage to your home.
DIY Fix #2: Patching Drywall Holes to Prevent Structural Damage
Patching drywall holes is a simple yet effective DIY fix that prevents more significant problems. Drywall damage can occur due to various reasons such as accidental impacts or shifting foundations. Regardless of the cause, it’s crucial to address these holes promptly to maintain your home’s structural integrity.
Assessing the Damage Size
Before you start the repair, assessing the size of the drywall hole is essential. This assessment determines the materials and techniques needed for the fix. Small holes, typically those caused by nails or small impacts, require minimal materials, while larger holes need more substantial repair strategies.
Materials for Different Sized Repairs
For small holes, a simple drywall repair compound and a putty knife may suffice. Medium to large holes, however, require additional materials such as drywall patches, mesh patches, or even a new piece of drywall for extensive damage. It’s also essential to have sandpaper, paint, and sometimes joint compound for finishing.
Step-by-Step Repair Process
Small Hole Repair
- Clean the area around the hole.
- Apply drywall repair compound with a putty knife.
- Smooth out the compound and let it dry.
- Sand the area until it’s flush with the surrounding drywall.
Medium to Large Hole Repair
- Cut a drywall patch slightly larger than the hole.
- Place the patch over the hole and secure it with drywall screws.
- Apply joint compound around the edges and let it dry.
- Sand the area to achieve a smooth finish.
Finishing Techniques for a Seamless Look
To achieve a seamless look, apply a coat of paint that matches the surrounding area. For larger repairs, additional coats or texture matching may be necessary. Ensuring the repair blends with the existing drywall is key to a professional-looking finish.
By following these steps and using the right materials, you can effectively patch drywall holes and prevent further damage to your home. Regular maintenance and timely DIY hacks like this can save you from costly home repair bills down the line.
DIY Fix #3: Unclogging Drains to Avoid Plumbing Emergencies
Unclogging drains is a crucial DIY skill that can prevent costly plumbing disasters. Clogged drains can lead to backups, overflows, and even damage to your home’s plumbing system. Understanding how to identify and clear clogs effectively is essential for homeowners.
Identifying the Severity of the Clog
The first step in unclogging a drain is to determine the severity of the clog. Is the water draining slowly, or is it not draining at all? A slow drain might indicate a partial clog, while a complete blockage requires more immediate attention.
Natural vs. Chemical Solutions
When it comes to unclogging drains, homeowners have the option of using either natural or chemical solutions. Natural methods involve using baking soda and vinegar, which are environmentally friendly and can be effective for minor clogs. On the other hand, chemical drain cleaners can be more potent but may damage pipes and pose health risks.
“For the tough clogs, a plumber’s snake or auger can be very effective.”
Step-by-Step Unclogging Methods
Different types of drains require different approaches to unclogging.
Sink and Shower Drains
- Remove visible debris
- Use a plunger or plumbing snake
- Apply baking soda and vinegar
Toilet Clogs
- Use a toilet plunger
- Avoid using chemical drain cleaners
- Consider using a plumbing snake for tougher clogs
| Drain Type | Recommended Method |
|---|---|
| Sink/Shower | Baking Soda & Vinegar |
| Toilet | Plunger or Plumbing Snake |
Preventative Maintenance Schedule
To avoid future clogs, it’s essential to maintain your drains regularly. This can include monthly treatments with baking soda and vinegar, being mindful of what you flush down the toilet, and using drain screens to catch hair and debris.
DIY Fix #4: Sealing Gaps and Cracks to Improve Energy Efficiency
One of the most cost-effective DIY home repairs is sealing gaps and cracks to enhance energy efficiency. This simple fix can significantly reduce your energy bills and make your home more comfortable.
Common Areas for Air Leaks
Air leaks can occur in various parts of your home, including around windows, doors, electrical outlets, and plumbing fixtures. Identifying these leaks is the first step towards sealing them. Common areas to check include:
- Windows and doors
- Electrical outlets and switches
- Plumbing fixtures
- Attic hatches
Choosing the Right Sealing Materials
The choice of sealing material depends on the location and size of the gap or crack. Caulk is suitable for smaller gaps, while spray foam is better for larger openings. For gaps around windows and doors, consider using weatherstripping.
Step-by-Step Sealing Process
Window and Door Seals
For windows and doors, start by cleaning the area around the gap. Then, apply caulk or weatherstripping to seal the gap. Ensure the seal is tight and smooth out any excess material.
Foundation and Exterior Cracks
For cracks in the foundation or exterior walls, use a more durable sealing material like epoxy or concrete caulk. Clean the crack thoroughly before applying the sealant.
Energy Savings Calculation
To calculate your energy savings, compare your energy bills before and after sealing the gaps and cracks. You can also use an energy audit tool to estimate the savings. On average, sealing air leaks can save homeowners between 10% to 30% on their energy bills.
By following these steps, you can improve your home’s energy efficiency, reduce your energy bills, and enhance your home’s comfort.
DIY Fix #5: Addressing Electrical Issues Safely
Safety should be the top priority when dealing with electrical issues in the home. Electrical problems can range from faulty outlets to flickering lights, and addressing them promptly is crucial to prevent potential hazards.
Warning Signs of Electrical Problems
Identifying electrical issues early can help prevent more significant problems. Common warning signs include:
- Frequently blown fuses or tripped circuit breakers
- Warm or discolored outlets and switches
- Flickering or dimming lights
- A burning smell or sparks from electrical devices
Safe DIY Electrical Repairs
When it comes to DIY electrical repairs, safety is paramount. Always turn off the power to the circuit or device you’re working on at the main electrical panel. Use a voltage tester to ensure the power is off before starting work.

Step-by-Step Troubleshooting
Troubleshooting electrical issues involves a systematic approach. Start by identifying the problem, then follow these steps:
Replacing Outlets and Switches
Replacing outlets and switches can be a straightforward DIY task if done correctly. Ensure you purchase the correct replacement parts and follow the manufacturer’s instructions.
Fixing Tripped Circuit Breakers
A tripped circuit breaker can be a sign of an overloaded circuit or a short circuit. To fix it, first, identify and address the cause of the overload or short circuit, then reset the breaker.
| Issue | Possible Cause | DIY Fix |
|---|---|---|
| Tripped Circuit Breaker | Overloaded Circuit | Reset Breaker, Balance Load |
| Flickering Lights | Loose Bulb or Fixture | Tighten Bulb or Fixture |
| Non-Functional Outlet | Tripped GFCI or Faulty Outlet | Reset GFCI or Replace Outlet |
When to Call an Electrician
While many electrical issues can be addressed with DIY repairs, some situations require professional expertise. If you’re unsure about the cause of an electrical problem or feel uncomfortable performing repairs, it’s time to call a licensed electrician.
Seasonal Home Maintenance Checklist to Prevent Problems
Seasonal home maintenance is crucial for preventing costly repairs and ensuring your home remains safe and efficient. By staying on top of seasonal tasks, you can avoid common problems that arise from neglect.
Here’s a breakdown of essential tasks by season:
Spring Maintenance Tasks
- Inspect and clean gutters and downspouts
- Check for roof damage and repair as needed
- Inspect plumbing for leaks and damage
Summer Maintenance Tasks
- Check air conditioning units and filters
- Inspect decks and patios for damage
- Landscape and trim trees to prevent overgrowth
Fall Maintenance Tasks
- Clean and inspect chimneys and fireplaces
- Rake leaves and clean up yard debris
- Prepare plumbing for freezing temperatures
Winter Maintenance Tasks
- Insulate exposed pipes in unheated areas
- Keep gutters clear of debris
- Maintain heating systems and inspect for drafts
| Season | Task | Frequency |
|---|---|---|
| Spring | Gutter cleaning | Annual |
| Summer | AC unit check | Annual |
| Fall | Chimney cleaning | Annual |
| Winter | Pipe insulation | Annual |
By following this home maintenance checklist, you can ensure your home remains in good condition throughout the year. Incorporating these DIY hacks into your routine can save you money and prevent major repairs.
Cost-Benefit Analysis: DIY Home Repair vs. Professional Services
Understanding the cost-benefit analysis of DIY home repairs versus professional services is essential for homeowners. This analysis helps determine when it’s financially sensible to undertake repairs yourself and when it’s better to hire a professional.
When DIY Makes Financial Sense
DIY home repairs can be cost-effective for minor issues, such as patching drywall holes or sealing gaps and cracks. By tackling these tasks yourself, you can save on labor costs and potentially reduce the overall expense of the repair.
When to Invest in Professional Help
For complex or safety-critical repairs, such as electrical issues or major plumbing problems, it’s often necessary to hire a professional. These tasks require specialized knowledge and equipment, and attempting them without proper expertise can lead to further damage or safety hazards.
Hidden Costs of Both Approaches
While DIY repairs can save on labor costs, they may also involve hidden costs, such as the cost of materials and potential costs associated with correcting mistakes. On the other hand, hiring a professional may include additional fees for services like emergency call-outs or diagnostic tests.
By carefully considering these factors, homeowners can make informed decisions about when to DIY and when to seek professional help, ultimately saving time and money.
Mastering DIY Home Repair Skills Over Time
DIY home repair skills are crucial for maintaining your home’s integrity and functionality. As a homeowner, having the ability to perform minor repairs and maintenance tasks can save you money and reduce stress.
Recommended Resources for Learning
To develop your DIY skills, start with online resources such as tutorials and videos. Websites like The Penny Hoarder offer free guides and tips on DIY home repair. You can also explore local community colleges or hardware stores that provide workshops.
Practice Projects for Beginners
Begin with simple projects like fixing a leaky faucet or patching drywall holes. These tasks will help you build confidence and develop fundamental skills. As you progress, you can move on to more complex projects like unclogging drains or sealing gaps around windows.
Advanced Skills Worth Developing
Once you have mastered the basics, consider advancing your skills in areas like electrical work or plumbing. These skills can be highly valuable and may require additional training or certification.
| Skill Level | Project Examples | Resources Needed |
|---|---|---|
| Beginner | Fixing leaky faucets, patching drywall | Tutorials, basic tool kit |
| Intermediate | Unclogging drains, sealing gaps | Specialty tools, online guides |
| Advanced | Electrical work, plumbing | Professional training, specialized equipment |
Conclusion: Empowering Yourself Through Preventative Maintenance
By adopting a proactive approach to home maintenance, homeowners can significantly reduce the risk of costly repairs and enhance their property’s overall value. The DIY fixes outlined in this article, from stopping leaky faucets to addressing electrical issues, demonstrate the importance of being prepared to tackle household problems as they arise.
Preventative maintenance is not just about fixing issues; it’s about empowering yourself with the knowledge and skills necessary to manage your home effectively. By doing so, you can avoid the financial and emotional stress associated with major repairs and ensure your home remains a safe and comfortable living space.
Embracing DIY home repair as part of your maintenance routine can lead to significant long-term benefits. It’s about taking control of your home’s condition and being proactive in preventing household problems from becoming major disasters.